Join the Photo Scraps team on Saturday January 19th from 11- 4 pm for our famous and fabulous Demo Day.
My first Demo Day card of 2013 will feature my all-time-favorite, cutest-bunny-in-the-stamping-world, Flopsey from MFT.
Have a safe & Happy New Year. I look forward to seeing you soon!
Cindy
Saturday, December 29, 2012
NEW CLASS: Flopsey Cards
Join me for my first class of the New Year on Saturday February 9th from 12 - 3 pm for an all new card class featuring the absolutely adorable Flopsey from My Favorite Things. Flopsey is the cutest bunny around and in this class we will be making 8 great cards (2 of each of the 4 designs). 4th design and supply list coming soon.
I look forward to seeing you in 2013!
Cindy
I look forward to seeing you in 2013!
Cindy
Wednesday, December 26, 2012
Photo Scraps will be Closed Today December 26th
Hi Everyone,
Due to the crazy weather and bad road conditions, we will be closed for the rest of the day today. We hope to reopen at 10:00 AM on Thursday December 27th. Be Safe and enjoy some craft time today.
Tuesday, December 11, 2012
One of Our Customers was featured today on the LYB Blog
Little Yellow Bicycle |
|
Today we share some wonderful Winterings projects from new Cycling Team Member Kate Blue. She has some icy delights that will have you looking at winter and ordinary household items in a brand new light. But, let's have Kate tell you all about it... As a scrapper who actually likes to reuse things, I decided to do an upcycled project that was more "holiday" themed. My kids cannot be trusted with my glass cookie jars, so I upcycled them their own Wintering treat container! I loved the white, blues and browns combinations of the whole collection and immediately fell in love with by the snowflakes in the Paper Crafting Kit and the Winterings Chipboard Shapes, so I thought a classic snow/snowflake theme would be nice! I started off by painting an old coffee can with gesso to make it look like snow. I used the Cardstock Stickers to circle around the center of the can and then added the lovely chipboard. I started with the large circle piece and built a large layered snowflake as the focal point. I embellished it with Vellum Tape Strips, the long chipboard piece (wrapped it with some wire silver balls that I recycled from an old wreath) and, a lot of the Clear Cuts tucked into the nooks and crannies. Next came the top. Again I painted it with gesso, added glitter and let it dry. There were pieces of gesso that wouldn't adhere, so I left it since it looked distressed...added a plastic ornament as the bottom layer then starting building more visual layers with a Journaling Card (yup, it's in there!), the adorable banner, more snowflakes and icicles from the Paper Crafting Kit and the Clear Cuts Shapes pack. The last step was to add Vellum Tape strips, Cardstock stickers around the bottom and back, bits of clear beads for interest. I left the back somewhat unadorned to keep the back of it uncluttered & simple so that the snowflakes stayed as my main focal point. Winterings Products: WI-134 Journaling Cards with foil accents WI-135 Cardstock Stickers WI-140 Cardstock Stickers WI-160 Vellum Tape Strips WI-230 Clear Cuts WI-279 Chipboard Shapes WI-304 6 x 6 Paper Pad WI-305 Paper Crafting Kit Other Supplies: Coffee can, Glue gun, Gesso, Glitter, Christmas decorative spray, Plastic snowflake ornaments, Plastic beads For my second project, I decided to do a quick and snowy winter layout. Since I am always sticker challenged, I dove in and took the plunge to use more than one! For the background, I chose the Dark Denim Brocade paper for the dark pop of gorgeous blue color. I used the fab Winterings 6 x 6 paper to cut out a HUGE snowflake-no machine involved, just some simple freestyle handcutting! I added some gesso on it to give the appearance of snow. Then, it was all about the stickers and the layering of snowflakes from the Paper Crafting kit, Winterings Chipboard and Clear Cuts for dimension. Title work was stickers layered with the Clear Cuts and again, I handcut the JOY subtitle and embellished it with snowflake stickers and more Clear Cut elements...can you see the pattern here? What I love about this Winterings collection is that the stickers have a lot of fine lines along with embossed and debossed style details on them. And, they are thick and heavy so they actually have the appearance of chipboard! For those of us who are squeezing in some "CRAFTY TIME, this collection takes out all the extra punching and embellishing so you can put together great projects in less time. The shaped burlap stickers already come with their own texture and bling; all I had to do was peel and stick! The last thing was adding hidden journaling using the Journaling cards along with touches of gems and beads and you got a 30 minute layout! Hope you will be inspired to use the Winterings chipboard and stickers on your next project! Winterings Products: WI-107 Winterings Stripe/Dark Denim Brocade 12 x 12 WI-134 Journaling Cards with Foil Accents WI-135 Cardstock Stickers WI-140 Cardstock Stickers WI-222 Layered Burlap WI-230 Clear Cuts WI-279 Chipboard Shapes WI-304 6 x 6 Paper Pad WI-305-Paper Crafting Kit Other Supplies: Glue, Jewelry making beads and gems, Gesso, Floral pic, Fabric Favorite from Christmas Delight LYB collection (CD-220) Please visit Kate's blog Queen Kat for more of her inspiring work. And remember - you can purchase the entire Winterings collection directly from us HERE. Happy Monday! |
Friday, December 7, 2012
12 Days of Christmas Deals are Here!
Sale prices from December 8th thru December 24th. While Supplies Last, in stock merchandise only. Prices do not apply to previous purchases. No other discounts apply.
Tuesday, December 4, 2012
No Two Alike
BoBunny's new winter line, Powder Mountain, is the perfect colors to set off your snow pictures. The combination of grey, white, navy, and other shades of blue will make any snow day look like fun. I started with a sheet of bazzil's admiral, since it is a very dark shade of blue, as my base for this page. I took a sheet of powder mountain scarf and trimmed 1/4 inch off of two sides and mounted it to the cardstock. I then did a little fussy cutting with a sheet of powder mountain memories to get some interesting shaped elements for my page. This sheet is a cut apart with many titles and journal blocks to choose from. After double mounting my photos on white and admiral cardstock, I arranged them with my cut outs around the snowflakes and snowman on the sheet of scarf paper. It was easy to design a layout on the already decorated paper, the hard part was knowing when to stop adding snowflakes to my page! I cut apart, mounted on admiral, and poped up my title from words on the memories sheet. I also made a tag with a glitter brad from another cut out on the memories sheet and added that to a white area on my snow photo. After adding some chipboard embelishments to my page, I could not stop adding snowflakes to the design. I put clear bling jewels on the chipboard ones to make them sparkle. I also had some Queen and Co. snowflake brads that matched so I added them to the centers of a couple snowflakes on the scarf paper. I also used one of the snowflake buttons from this line, but it was hard not to add more! Now was my favorite part, I added stardust stickles and glossy accents to everything on the page! This really makes your page sparkle and shine but needs to bet set aside over night to dry. With BoBunny's coordinating embelishments and their cut apart sheets, you will have more than enough products to make lots of layout all winter long! Happy Scrapbooking!
Friday, November 30, 2012
Monday, November 19, 2012
Photo Freedom: Happy Little Moments
Echo Park has just introduced a very versatile collection called Photo Freedom. A revolutionary new way to scrapbook, easily and affordably! Simply buy a photo freedom kit, add photos and complete 10 pages in minutes... this is great for beginners and highly relevant for long-time scrappers that are looking to get memories scrapped faster.
Or you can do as I did and simply create beautiful layouts. The layout I created was about my teenage daughter's love for Young Life, a Christian youth group. The soft, serene colors and catchy journaling spots were perfect for the topic and made this layout a breeze to put together. The yellow-green and pale turquoise were not color combinations I have used before and I loved the results. The 12x12 sticker elements added the extra embellishments and the alphabet stickers I used for the title in the journaling box. I added a Dew Drop and a pearl flourish from my stash to finish off this sweet layout.
Photo Scraps carries the full line of Happy Little Moments and Dear Santa from the Photo Freedom collection. The page protectors work with most scrapbook albums, such as We R Memory Keepers.
Wednesday, November 7, 2012
Halloween Project share from Pat Carmondy
Hi Everyone,
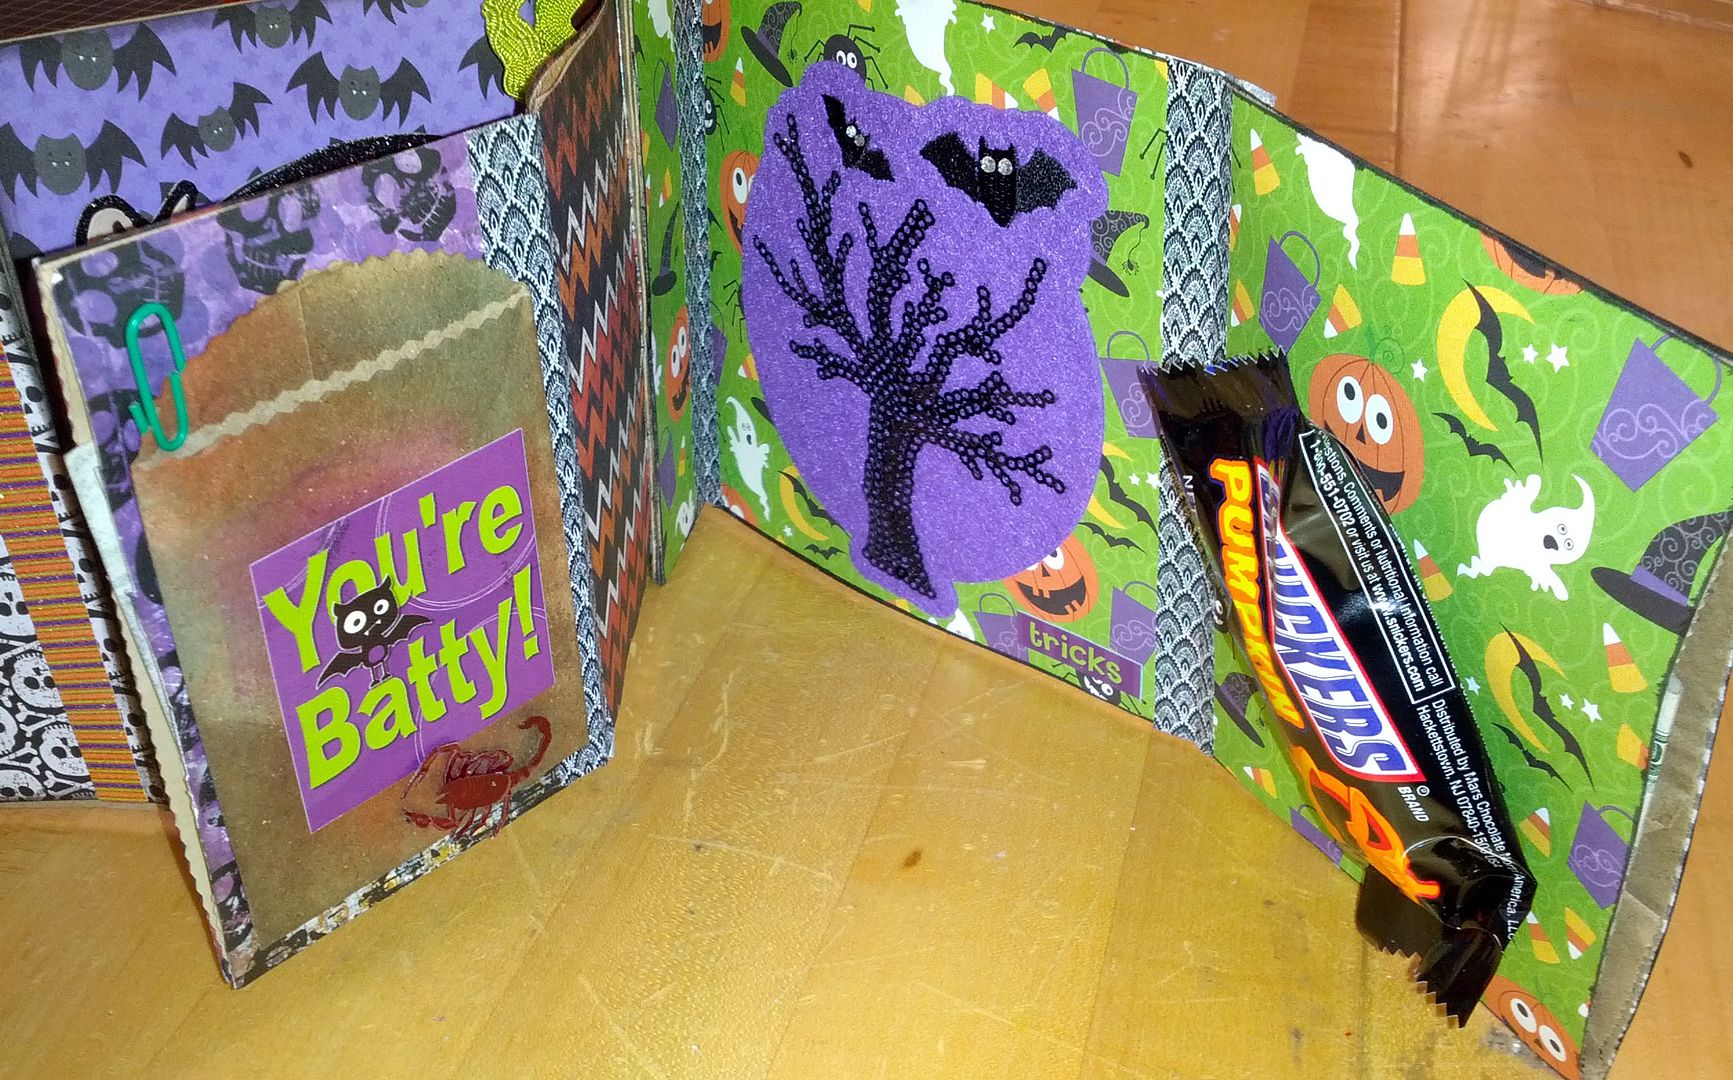
One of our creative customers, Pat Carmondy, was making a fun Halloween paper bag album for her nephew and got carried away in a great direction. She didn't realize until she was done that she had crated a spider like album. Her vision as she was creating was to use the paper bags as pockets to hide money and candy.
One of our creative customers, Pat Carmondy, was making a fun Halloween paper bag album for her nephew and got carried away in a great direction. She didn't realize until she was done that she had crated a spider like album. Her vision as she was creating was to use the paper bags as pockets to hide money and candy.
I adore how she has the skeleton holding the cash.

Who thinks this would be a fun class next year?
Tuesday, November 6, 2012
NEW CLASS: Penny Black Christmas Cards
Join me for a new Christmas Card class on Saturday 12/1/12. Class will run from 11:30 - 2:30. We will be making a total of 8 cards (2 each of 4 designs) using some of Penny Black's newly released holiday stamps. Here is a sneak peek of one of the cards. I wish you could see the beauty of the red embossing powder on the photo. More designs to come soon...
Cindy
P.S. This class will repeat on Saturday 12/8/12 from 11:30 - 2:30 pm.
Cindy
Tuesday, October 30, 2012
Dare to Share Pumpkins
Hi Everyone,
I thought you could use some inspiration during your time indoors. Luckily we have had some great customer shares this month.
Shar Hellie made three adorable pumpkins to share. I like how she alternated the patterned papers on the pumpkins.
Here is a spooky pumpkin card from Diana Middleton. She used versa mark and white embossing powder for her ghost and she made her pumpkins pop by putting a layer of Glossy Accents on top.
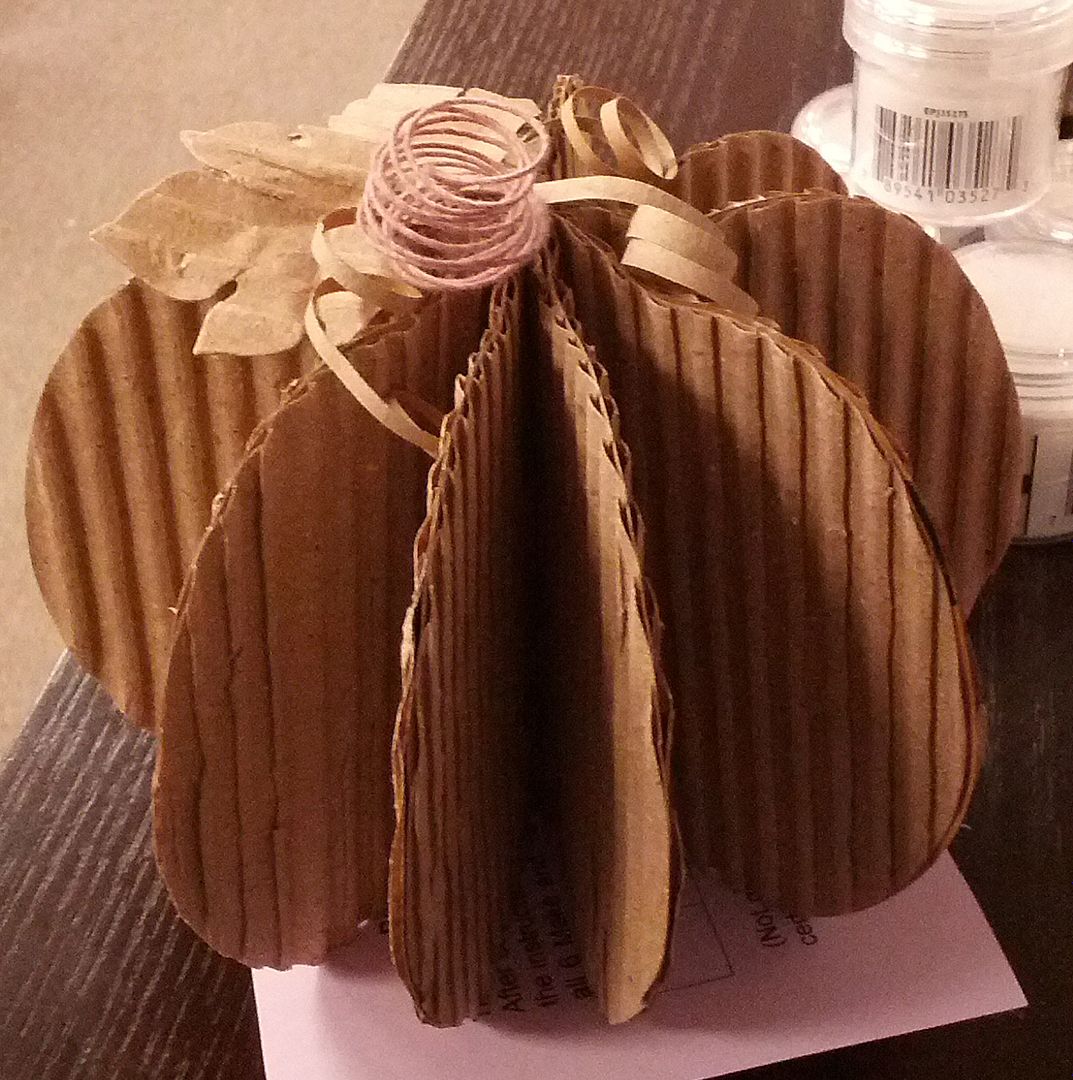
Michelle Whelan took apart a cardboard box and tore off the outer paper to reveal the corrugated paper. She used a die to cut the leaves and some wire for some of the vine.
Helen Woodward actually made the Tim Holtz pumpkin idea he had on his blog. It is all sheets of embossed metal that she colored with alcohol ink. Because the metal is reflective, I had a hard time taking a decent photo of this project.
Jackie Poor also made one of these metal covered pumpkins. You really need to see these in person to appreciate how lovely they are.
Monday, October 29, 2012
Dare to Share Customer Video from Loretta Rodger
Hi Everyone,
One of our wonderful customers Loretta Rodger made a You Tube video of a bunch of our store samples. I know that I will get lots of questions about the projects. All of the stamps used on the stamp boards are either in stock or can be ordered. Some of the mini albums are kits from the Button Farm that we do not sell or teach and some other mini albums were things we made at shows or previously taught as classes.
Loretta also created her first Art Journal and video of the Art Journal. You can tell that she played with lots of different mediums and even stencils. Enjoy watching her video and I hope you get some inspiration to play.
Sunday, October 28, 2012
November's Demo Day card
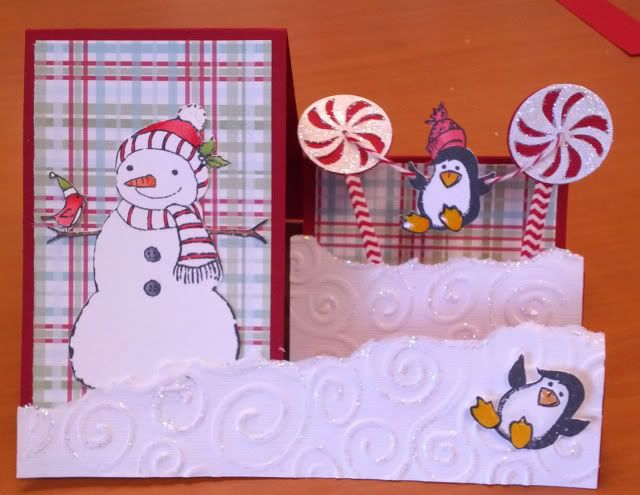
Hi everyone! I know I have been MIA on the blog for a while but wanted to pop in to show you all my Demo Day card for November. Please remember that we had to move Demo Day up a week early, so it is on Saturday 11/10/12 from 11 - 4 pm. If you have never been to a Demo Day, this is a great opportunity to make some cards or layouts right on the spot, learn a new tip or trick, get to try some new product, and meet some of the great teachers we have at Photo Scraps.
We will be making a Winter or Christmas themed card at my table using some gorgeous silver mirror cardstock and great Hero Arts stamps. I made my sample with the "Merry Christmas" sentiment but will have other sentiments on hand if you want to make it non-holiday. This would be a great winter birthday or even a Happy New Year card.
I look forward to seeing you soon!
Cindy
Wednesday, October 17, 2012
Customer Blog Share - Lorie The Peddler
Hi Everyone,
It occured to me that our customers are often shy about sharing their creations with us. When I was talking to Lorie about some of the cool things she makes, she mentioned her blog and I just had to get her permisson to share. If you have a crafty blog that you think others would like to see, please let me know at tracy@photoscraps.net.
Here is a recent blog post from Lorie.
A Wintery Feel
Happy Hellos Everyone:
I hope you’re having one terrific Tuesday. Yesterday was such a beautiful. Hopefully, today will promise to be more of the same. Well, I hope you’re ready because as promised, I have another wonderful {okay…I’m a little bias} altered cigar box to share with you. I had a strong tie to this box instantly. I'm not sure whether it was the cool colors or the theme, but I know it will be difficult for me to let this one go.
When I created this box, I totally had cooler weather in mind. I love the feel of cool autumn days and cooler wintery evenings. If I were to keep this altered box, I would probably store hot cocoa and/or gourmet tea packets or perhaps even cool mint candies to share.
Take a look and be sure to share your thoughts.

The original banding worked well with the color theme. I'm not certain whether you noticed the word in the center of the lid, but it reads 'Authentique.' I never thought to use the word printed at the bottom of the DP, but I will from now on. It wasn't my intention to advertise the brand name as it was to identify this altered box as being one of a kind.
This paper is black and white with a small hint of green. I didn't want to leave it at that, so I decided to distress the papers with one of the colors of winter. Here, you're able to see the handle I created using buttons.
It occured to me that our customers are often shy about sharing their creations with us. When I was talking to Lorie about some of the cool things she makes, she mentioned her blog and I just had to get her permisson to share. If you have a crafty blog that you think others would like to see, please let me know at tracy@photoscraps.net.
Here is a recent blog post from Lorie.
A Wintery Feel
Happy Hellos Everyone:
I hope you’re having one terrific Tuesday. Yesterday was such a beautiful. Hopefully, today will promise to be more of the same. Well, I hope you’re ready because as promised, I have another wonderful {okay…I’m a little bias} altered cigar box to share with you. I had a strong tie to this box instantly. I'm not sure whether it was the cool colors or the theme, but I know it will be difficult for me to let this one go.
When I created this box, I totally had cooler weather in mind. I love the feel of cool autumn days and cooler wintery evenings. If I were to keep this altered box, I would probably store hot cocoa and/or gourmet tea packets or perhaps even cool mint candies to share.
Take a look and be sure to share your thoughts.

I often select a wintery theme over a Christmas theme just because the wintery theme will run well over into the new year. In addition, I've come to learn everyone does not celebrate Christmas. Don't you just love the snowman's scraf? Everything appears to have blended perfectly... even the various patterns and the silver snowflakes.
The original banding worked well with the color theme. I'm not certain whether you noticed the word in the center of the lid, but it reads 'Authentique.' I never thought to use the word printed at the bottom of the DP, but I will from now on. It wasn't my intention to advertise the brand name as it was to identify this altered box as being one of a kind.
This paper is black and white with a small hint of green. I didn't want to leave it at that, so I decided to distress the papers with one of the colors of winter. Here, you're able to see the handle I created using buttons.
Distressing the edges just provides a cleaner look for a finish project. Full inside view
I always make sure to stamp all my projects. Do you?
The die I used is from the Tim Holtz's collection.
I hope you like this altered box and perhaps you'll consider creating one of your own. As always, thanks for stopping by The Peddler's Gallery and come back real soon--like tomorrow ;)
Click here to go to Lorie's Blog.
Friday, October 12, 2012
New Card from Paulette Truslow
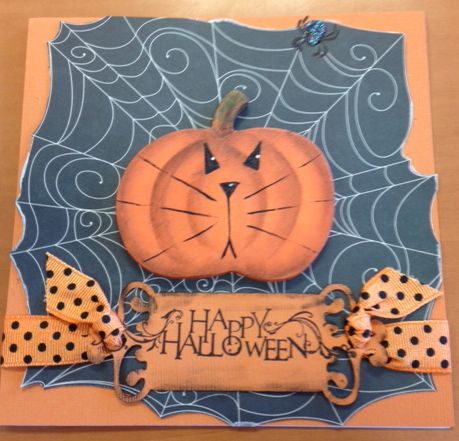
We always love our customer creations. Paulette Truslow brought in a fun Halloween card for us to see. I like how she cut out the spiderweb from paper. Mounting it on the orange card base really helped it pop.
Thursday, October 11, 2012
My October Demo Day card
Hi everyone! Demo Day is Saturday October 20th this month and we have a wonderful variety of projects for you to make. Since we are heading into the Fall season, we will be creating a lovely Autumn-colored card at my table. My card uses a color combo that I love for Fall - teal, rust, brown, and off-white. I can't seem to get enough of those colors right now.
I'm looking forward to seeing you soon!
Cindy
I'm looking forward to seeing you soon!
Cindy
Saturday, October 6, 2012
Handmade Christmas Album by Gloria Clark
Hi Everyone,
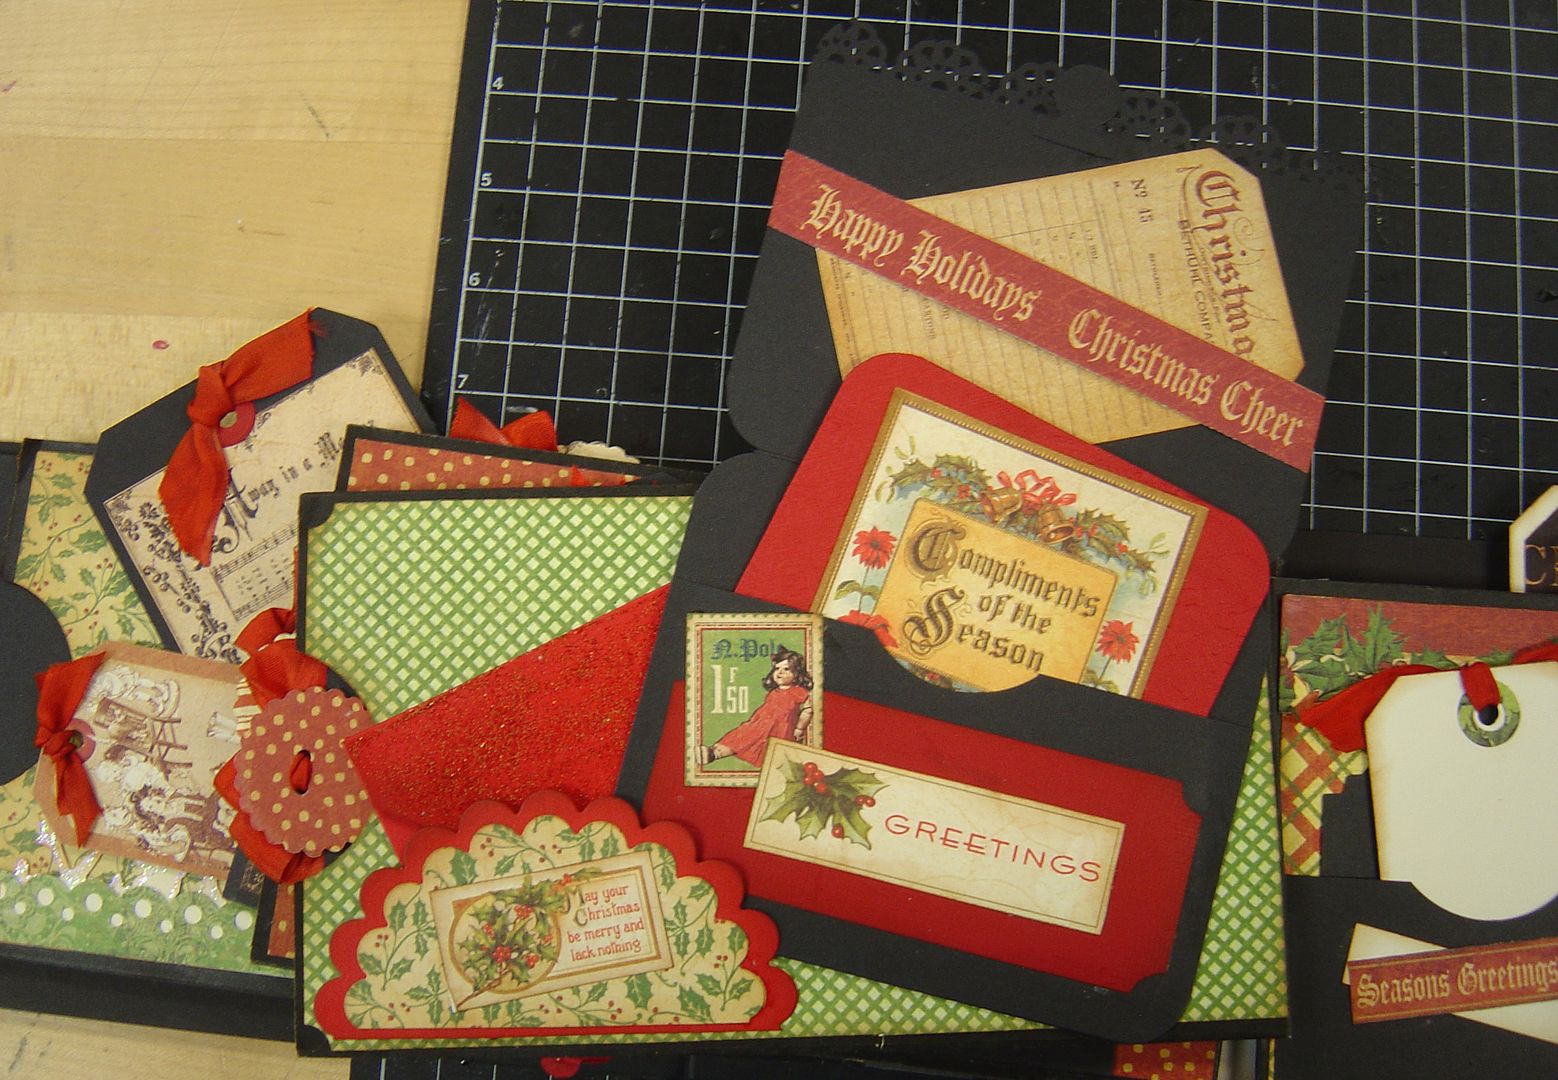
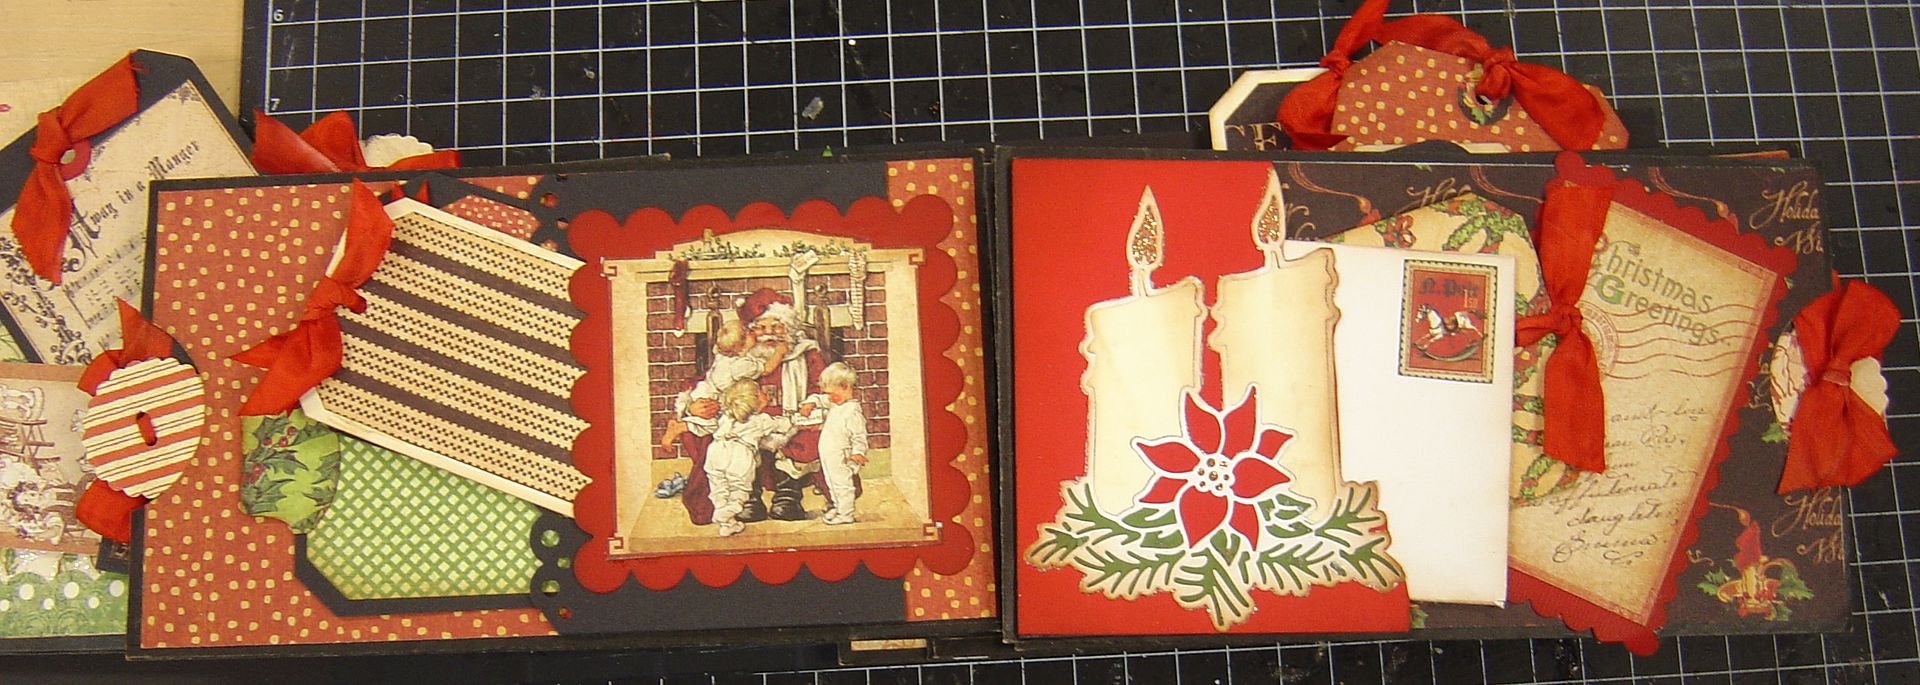
We just love it when our customers bring in their creations. Today, Gloria Clark brought in this amazing paper bag album that was inspired by Laura Dennison. This is an older Graphic 45 collection so don't fall in love with the papers. She has pockets hidden everywhere filled with tags.
We just love it when our customers bring in their creations. Today, Gloria Clark brought in this amazing paper bag album that was inspired by Laura Dennison. This is an older Graphic 45 collection so don't fall in love with the papers. She has pockets hidden everywhere filled with tags.
The seam binding she used was white and she colored it with distress ink.
The candle die cut is by Cheery Lynn and Gloria pieced the different colors together to create this great textured candle. Thursday, September 27, 2012
Share this post on Facebook and Twitter
Share this photo on your Facebook or Twitter feed, show us and you will receive 20% Off one item of your choice (excluding Silhouette items).
Friday, September 14, 2012
NEW CLASS: Halloween Cards
Join me Saturday 9-29-12 for an all new card class with a Halloween theme (my personal favorite!). We will be making a total of 8 cards (2 of each of the 4 designs).
Note the new time for my classes: 11:30 AM - 2:30 PM.
Please bring the following Copic markers with you:
FV2
BV000
YG05
C3
C5
In addition, should you wish to bring your own inks and daubers, here are the colors needed:
Distress Inks: Walnut Stain, Black Soot, Spiced Marmalade
Memento inks: Grape Jelly, Gray Flannel
This class will repeat on Saturday 10-13-12 for those unable to make the first session. Kits will be available if you are unable to attend either of the sessions, so please mention that you will need a kit only when you call to register.
I look forward to having a scary good time with you!
Cindy
Subscribe to:
Comments (Atom)


